
In a prior post, I talked briefly about the series of discs I use to grind and polish stones. Today I'll show you how the stones look in between each disc usage:

These are the diamond discs I use to grind stone- they are, from left to right, 100 grit, 180 grit, and 1200 grit. The 100 is new- hadn't tried it before today. The 180 was getting worn and was not cutting as fast anymore. The lower the grit number, the larger the diamond particles and the more aggressive the cut. I use these in order. For softer stones, I start with a gentler grit and don't use the more aggressive ones. Today I polished a bunch of stones and used only the 100 and 1200 grit- I skipped the 180 grit.
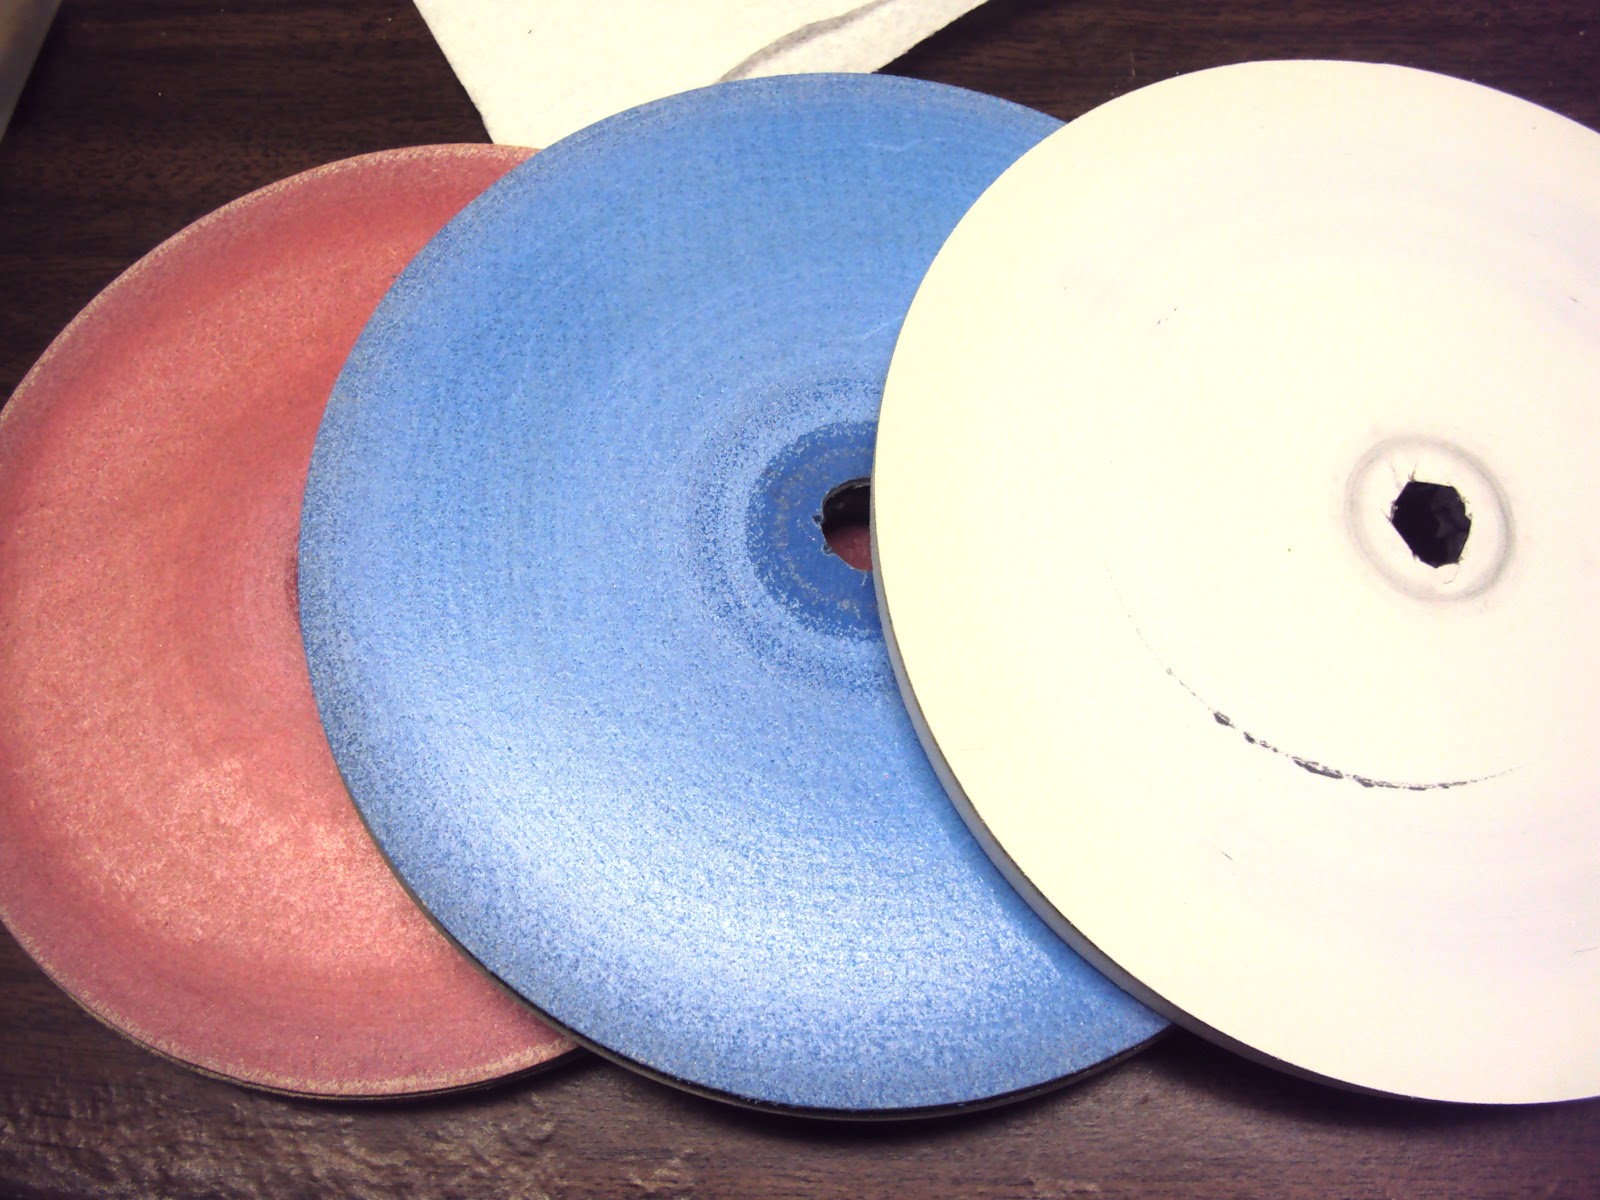
These are the next discs I use- sanding discs. They are diamond, but embedded in resin and they are not as aggressive as the metal diamond plates above them. The red disc is 600 grit, and the blue disc is 1200 grit. It may seem like I'm going backward- since I go from a 1200 grit metal diamond disc to a 600 grit sanding diamond disc, but because they are less aggressive, the numbers aren't really comparable. The white disc is a Trizact cerium oxide polishing disc.
Now let's see below what the stone looks like after each disc:

Here are the stones, cut from slab into rectangular shapes. I sanded the bottom and sides through the red disc above, then dopped the stones and started out by doming the tops into a more cabochon-like shape.

Here they are after the 100 diamond disc; the tops have been domed. They are quite roughed up and very frosty-looking.

I went right to the 1200 diamond disc next and here they are after refining the tops. Not frosty anymore, and a very flat finish.

This is the result after using the red sanding disc- a nice satin finish. Sometimes it's nice to stop here on certain stones- like lapis or turquoise- whenever you want a less shiny finish.

After the blue sanding disc, they look shiny and well-finished.

But that extra step with the cerium oxide disc makes a big difference in the shininess and makes the color richer and more saturated.
Good, direct and clear post, Dana!
ReplyDeleteWhat a fascinating and fun process, and beautifully photographed. I love finishing furniture, to bring out the beauty in the wood, and this is even better. I totally get how you got addicted. I'm getting addicted just by reading your blog posts!
ReplyDeleteThanks, Ladies!!
ReplyDeletenice finish ! e-mail me if you get time... Chris.
ReplyDeleteVery nice! I need to get those discs.
ReplyDeleteVery nice 👌
ReplyDelete