Tuesday, April 9, 2013

New Spinner Rings

This week I finished a trio of 'spinner' rings that feature patterned silver wide-band rings with a fun 'spinner' band on the outside that has an inlay of small Australian opal cabochons.

I have only made a handful of these- but they are pretty popular, probably in part to the pretty opal band. There are a lot of spinner rings being made, some very simple and some more involved. 


They may look complicated, but are not so much. The wider band was created by running the silver sheet through a rolling mill to pattern it. It was then cut and soldered to form a band. A friend of mine took a whole class on how to make one, but when she found out how simple they were, she wished she knew the 'trick' and could've saved her money on the class!! What's the trick??


Well, after the bands are made, the inner/wider band is flared by using a dapping punch- you take a larger diameter punch, and hammer the end of the ring to flare it. Then you put the band on, and repeat to the other end so the band doesn't fall off. Easy peasy!


The most complicated piece of making these rings was creating the opal band. I used 2 lengths of square wire and soldered them to a piece of silver sheet. The bands above are made from brass and Argentium silver. The Argentium bands did not require any solder- I just fused them. After they were attached to the base sheet, I trimmed the excess, formed into a ring, and made sure they fit around the wider band before soldering/fusing closed. I then blackened the channel and epoxied in the opals.

Thursday, March 21, 2013

New fleur de lis earrings

Today I finished a pair of new earrings and I thought I'd give you all a sneak peak....


They include a pair of Australian opals I got in Tucson last month- I knew just how I wanted to use them!


The sketch on the left is of a pair of earrings I've been wanting to make for a while- this sketch is probably over a year old. Just didn't have the stones yet to make them. Here they are- I'm assembling the parts. The wire at the top is 16 ga. square Argentium silver that will have some balls fused to it. I already made the bezels for the stones, and took a while creating the paper template for the bottom fleur-de-lis shape. I fuss a lot on templates because I want to get it right. This was my 3rd or 4th one, and I still fussed to get it just right.


Here I fused the balls onto the square wire and traced/cut out the silver fleur de lis shapes at the bottom. I'm trying the stones out, but of course I remove them when I solder things together...


After this step, I needed to solder the bezels to a back plate.....


Which I did here.... I also cut out most of the backs of the stones (because they're transparent) but left a seat. Additionally I left little tabs on the tops and bottoms of each bezel so the fused wire and fleur-de-lis pieces could be soldered onto them and join all pieces together. Before I did this, however, I soldered an earwire to the back of each fused wire segment to be folded later on...


Here they are above ready for keum-boo. I cut a pattern of what shape I wanted, used that to transfer to the gold foil, and cut them out. I put them on my electric burner and burnished the foil so it 'stuck' to the silver. (see my earlier post on keum boo for more info!)


And here are the oxidized finished pair. I discovered that it was challenging to hammer/punch close these bezels because they had some of the elements soldered to them, which stiffened them quite a bit. In the future I will use thinner-walled bezels if I have elements soldered to them.

I'm not putting these in my Etsy store just yet- I'm keeping these for the Ratner show next month!!

Friday, March 1, 2013

New Opal Earrings

I was recently looking through a catalog that contained some jewelry and saw a pair of earrings that contained a lot gems- all the same kind, and was inspired to do a multi-gem pair myself. And I wanted to use up some of my miscellaneous opals, of which I had a few... here they are, and some pictures of how I made them:


I knew I wanted to create a pair that had a small upper part, with earwire connected to the back, with a piece below that was attached for movement.


This was the set of opals I had in pairs- of course not everything matched exactly, so I spent some time trying to balance the layout so the colors and sizes would seem like they were varied but still looked like a pair.


The first thing I did after arranging them into a pattern I liked was to create all the bezels- 14 of them! That took a while! I opted for thin serrated bezels because I like the look of the edge detail of the serrated wire, and because to use a heavier bezel would add unwanted weight to the earrings.


After the bezels were complete I did a sketch of the feel I wanted the earrings to have. Then I took a few weeks off. When I came back, I realized I couldn't do a granulated pair because the bezels had been soldered. I'd have to use a design that could be soldered together.


So instead, I took the granulated balls and smashed them with a hammer! Into nice little coins- which I then played with to find an arrangement I liked. Once happy, I took all my components to the soldering table to solder them down.


But first I sanded down the little discs, which was easy to do because they were flat, by dragging/rubbing them along sandpaper.


Then I pre-melted solder paillions onto the back of each disc. This is a lot easier than trying to arrange the solder pieces and the discs simultaneously.


Then the pieces were all arranged on my soldering brick, and soldered to the back sheet. Above is a shot of them after I cleaned them up with a blue/satin disc. I've also marked where I wanted them cut out with a permanent marker. 


Here I first soldered a wire to the back of the upper section, and then I pierced a hole and then cut out the backs of each stone, leaving a seat for each. The wire was to become the earwire at top, and at bottom- the loop to attach to the bottom section. I shaped the attachment on the bottom section triangular, so the loop would sit nicely at the top.


Here is everything cut out and blackened in Griffith's SilverBlack. It takes a few dips and rinses to get it dark. It still fades a lot. It's hard to get a really black black!!

Next I buffed the tops of the coins, as well as the edges, back to a silver shine, and set the stones. Last step was to attach the 2 parts and fold the earwires. And here's the final product:


That is my daughter modeling them for me. I think I might keep them! I'll have to see what other miscellaneous stones I have in my stonebox!


Tuesday, February 26, 2013

Magazine Articles Submitted

A while back I shared with you all that I'd been approached by Belle Armoire Jewelry Magazine to submit a couple of article ideas to their recent scheduled pow-wow of planning for future issues. To my delight they accepted my proposals and I was given the okay to work on the articles as well as step-by-step photos if possible. For me, it's easy to write the article, but hard to do the photos. Because, you actually have to document the making of an actual project. And boy, that's a lot of pressure!


I decided to tackle the hard project first- granulation. I first spent a few evenings designing a project that I felt was worthy of making not only for a national publications, but also for the technique. Then it took me a couple of more days to set up a backdrop and take some pics to see if the lighting, etc... looked good. Then, my camera's smartcard died. Of course. So, I had to use my expensive and nice Nikon. Which I wasn't upset about, it's just I'm so used to my other cheapie Sony camera. I take every jewelry shot with it- it's so small and easy to use. But to be honest, this was a great opportunity to further get to know my Nikon, and I really do think it took better close-ups than I ever could have gotten with my Sony- without melting the Sony. Because I would have had to have gotten so close to the subject, that I would've probably destroyed the camera. Maybe my camera knew that and destroyed the smartcard as a survival technique?


In the end, it was actually very helpful to take the step-by-step photos first, because I used that as a foundation to create not only my instructions, but also my tools and materials list. I was pleased with how the articles came out- even though they were only 900 words. That may seem like a lot, but it was challenging to edit down a process like granulation into the most succinct and yet descriptive language possible.
The keum-boo article was easier to accomplish in 900 words. There are not as many steps or things to watch out for or explain.

So, now I wait for the magazine editors to decide if they want to use the articles, and if so, what changes they may want.  I'll also be curious to see if they offer me payment. Last year I wrote an article on etching for Art Jewelry Magazine. It turned into a 5-page article and they paid me $300.  Belle Armoire features a lot more articles in it's pages by many contributors, and this may only be a 2-page article, so I'll be curious to see what they pay. Of course I'd probably do it for free (don't tell them!) because of the nice publicity (albeit to an audience that is learning, not buying) and credential it offers me.

Sunday, February 3, 2013


If you're in the D.C. metropolitan area, come see my group of fellow metalsmith ladies displaying their work! Our gracious host is the Ratner Museum in Bethesda, Maryland at 10001 Old Georgetown Road. The show is Saturday April 27th from 5-9 pm with wine & cheese and live music. On Sunday April 28th, the hours are 11-3:30. Light refreshments, and free admission/parking both days! There are 12 of us and we've been a group for 6 years now.  We meet monthly to chat, snack, talk shop and share recent work. This is our 2nd annual group show. See more on Facebook:


or catch us on our blog:


Hope to see you!!

Tuesday, January 29, 2013

Packaging & Promotion

I think a lot of artisans think a lot about packaging their product in such a way that it reinforces the theme of their business idea. Let's face it- it's kinda fun! There are certain mainstays in my packaging and promotion- things I always like to have:

This is a pad of sticky notes. It has my logo and website on it, as well as my email address. I've been ordering these for years from VistaPrint. These are new as I recently changed my business name to Dana Evans Studio from StoneAddict Jewelry. I always write a little thank you note on them and stick them on the package I'm sending to a customer.


These button magnets I designed and then ordered on Etsy last Spring and include with all my jewelry orders. They are 2-1/4" in diameter and have a nice magnet on the back- here's a link:


One other thing I've been doing for years is using iron-on transfer paper to create logos on jewelry pouches. I buy muslin pouches from PaperMart.com in a couple of different sizes, then design my logo and print it out as many as will fit on one sheet.


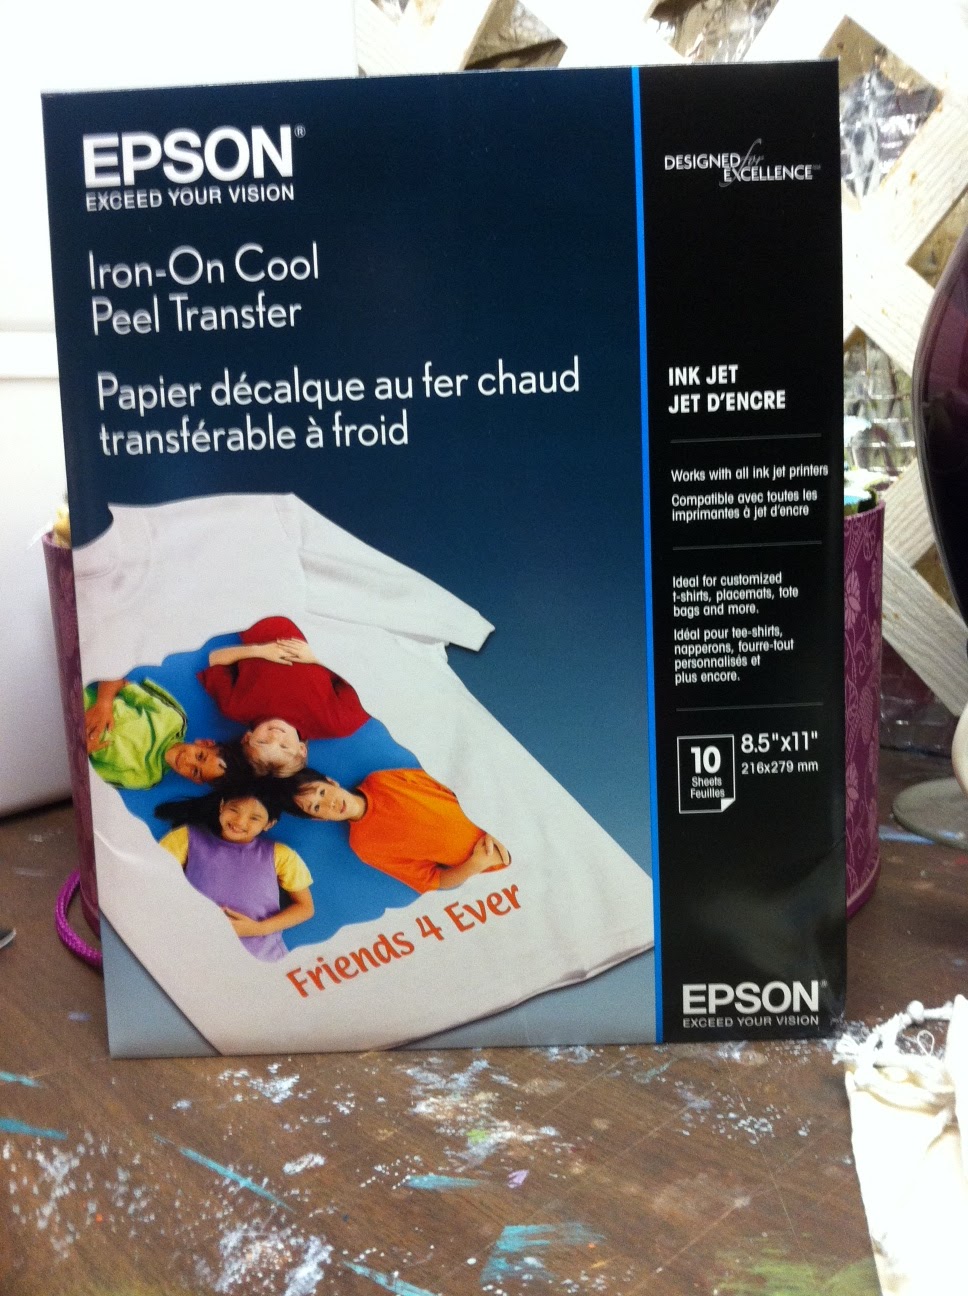
This is the brand I've been using- I got it on Amazon.com but Staples.com also has them. There are many out there! It's only for inkjet printers- and there are specific settings on my print dialogue box for 't-shirt transfer'. Why is that important? See below:


That's right- the printer setting mirrors the image for you, so that when you iron it on, it reads the correct way! Pretty important!! It also signals the printer to create a high-quality print.


So here ya' go... a nice pouch that looks pretty professional. Takes little time to create and it's a nice touch. It has my logo and website, so between the sticky note, button magnet and this, there's no excuse for a customer to forget how to find me!!


The last thing I include in my customer's order is a small piece of polishing cloth. These are the Sunshine brand, and I buy a bulk of 10, then use a pair of serrated fabric scissors to cut each piece into 6 sections. That way, one package yields 60 small pieces- that lasts a long time! It's a small touch but I think customers like them.

In addition, there are SO many other promotional materials available. A quick search on Etsy resulted in a lot of different ideas one could use:


I guess you have to consider your product and what's appropriate. In the dental office my mother works in, they give away free small lip balms, complete with office information on the tube. There are lots of products out there to choose from, and lots of companies to buy from. 

I recently bought a binder from zazzle.com that had my business logo on it. I bought some baseball card inserts and keep pictures of every piece I make in it:


And, of course, there are business cards. With 101 companies out there to make them, the choices are endless. One of my faves is overnightprints.com. They offer rounded corners and a nice thick card.


Thursday, January 17, 2013

New Stuff....

 The winter holidays kept me busy this year; I haven't had much time to create in the last month, but that's changing.... Just as I was getting back to work, I got a message from the editor of Belle Armoire Jewelry Magazine. I guess she was trolling Etsy and found my site. She encouraged me to submit my work to her magazine! Cool!


The only caveat was that they wanted ACTUAL jewelry pieces- no pictures. Hmm...  I get it- they want to photograph everything themselves so the magazine has a consistent look. She said I could be selected for a how-to article or maybe just some 'boutique' pics in their gallery.

Not that I don't relish the idea of seeing my work in print, but my inventory is a bit low right now, and I have a group Ladysmiths show at the end of April- would I get my work back by then?

She assured me my work would be returned in a timely manner, so I thought- I'm going for it! She specifically wanted examples of my granulated pieces as well as the keum-boo (gold foil) pieces, but wanted more of the latter because I had sold actual examples and had only one in hand. So I made a couple more pairs of earrings to illustrate the technique:


I really hope they select my work! I went to the bookstore to take a look at their magazine, and they have A LOT of projects and artists represented. I hope if selected, I can manage to stand out from the crowd! In the end, it's nice to be published in order to add it to my resume and seem more 'credible' as an artist. It's basically a trade magazine, as is Art Jewelry Magazine, in which I had an article in last year, so I can't expect any sales. But last year I did have a reader (also a jewelry-maker) make a large purchase from my stone supply shop, so that's a possibility!! 


The above sheet was what I submitted, along with the actual jewelry pieces (hope they make it there in one piece...) with tags/instructions attached, per their requirements. Cross your fingers for me!